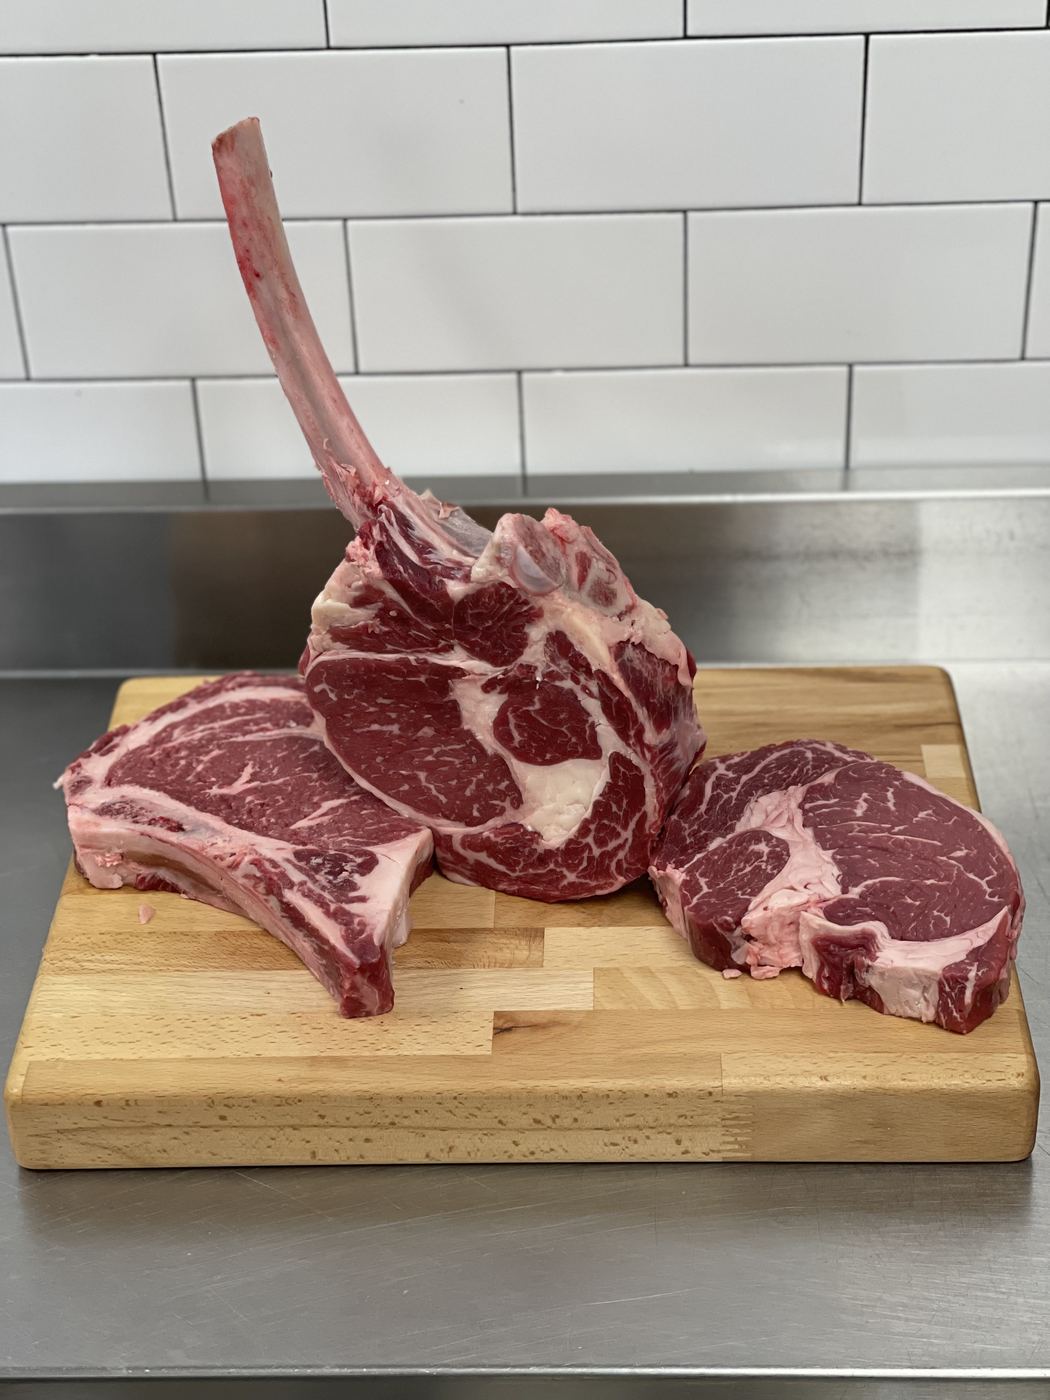

Two-zone grilling means splitting your grill into a hot direct side for searing and a cooler indirect side for finishing, so you control browning and doneness separately instead of gambling on one heat setting. Here’s how to set it up fast:
- Charcoal: bank all your lit coals to one side of the grate, leaving the other side empty.
- Gas: light one or more burners and leave at least one off.
Pull your food with an instant-read thermometer a few degrees before your target. Carryover heat finishes the job.
Key Takeaways
Two-zone grilling works because separating direct and indirect heat lets you control browning and doneness independently instead of relying on one uniform temperature.
| Point | Details |
|---|---|
| Build two zones first | Bank charcoal to one side or leave a gas burner off before anything else. |
| Vent over the cool side | Position the lid vent over the indirect zone to improve airflow and evenness. |
| Watch temperature ranges | Sear around 450 to 600°F direct; finish around 225 to 350°F indirect. |
| Pull early, rest longer | Remove food 5 to 10°F below target to account for carryover heat. |
| Rescue flare-ups with the lid | Move food to indirect heat and close the lid instead of using water. |

Ready to put this into practice? Start with a cut that rewards a good two-zone sear, like a boneless ribeye for reverse sear or a beef tenderloin for a slow indirect roast finished with a hard sear. Patsprimecuts hand-cuts both to order, so you can ask for the thickness your technique actually needs.
Table of Contents
- What Does Two-Zone Grilling Actually Fix?
- How Do You Build a Two-Zone Charcoal Fire?
- How Do You Set Up Two Zones on a Gas Grill?
- How Do You Actually Cook Using Two Zones?
- What Temperatures and Times Should You Target?
- Why Is One Side of My Grill Not Cooking Evenly?
- What Tools Make Two-Zone Grilling Easier?
- Which Cuts Benefit Most From Two-Zone Grilling?
- Three Two-Zone Recipes to Start With
- Why Every Home Griller Should Master This First
- Where to Learn More About Grilling Technique
- Frequently Asked Questions
- Sources
What Does Two-Zone Grilling Actually Fix?
The direct side cooks by conduction, grate to meat, fast and aggressive. The indirect side cooks by convection, hot air circulating around the food, slower and gentler. That split solves the oldest grilling problem there is: a crust that’s done before the center is.
Two-zone setups give you three things a single-temperature grill can’t:
- Control over doneness without guessing when to pull food off entirely
- An escape route when fat drips catch fire
- The flexibility to sear a crust, then finish low and slow, or cook multiple items at different rates
Steaks, whole chickens, ribs, and mixed cookouts all benefit. Thick cuts especially. Without two zones, thick steaks routinely end up burnt outside and raw in the middle, according to AmazingRibs, which calls treating a grill as one uniform heat source the single most common grilling mistake.
How Do You Build a Two-Zone Charcoal Fire?
- Fill a chimney starter with charcoal and light it. Wait until the top coals are ashed over gray, usually 15 to 20 minutes.
- Dump the lit coals onto one side of the charcoal grate, leaving the other side bare.
- Drop the cooking grate back on and let it preheat for 10 to 15 minutes with the lid closed.
- Position the lid’s top vent directly over the empty, cool side, not the coals.
- Adjust bottom vents to control airflow. More air means hotter and faster; less air stretches your burn time.
A standard 22-inch kettle with a full chimney load holds a stable two-zone fire for roughly 60 to 90 minutes before you need to refuel, per AmazingRibs. Smaller 18-inch grills need less fuel and lose heat faster, so check zone temps more often.
Pro Tip: Vent placement over the cool side isn’t a minor detail. It draws hot air across your food instead of straight up and out, and that single adjustment noticeably improves how evenly the indirect side cooks.
How Do You Set Up Two Zones on a Gas Grill?
Gas is faster to dial in, and just as effective once you know the pattern.
- On a two-burner grill, light one side fully and leave the other off. That’s your direct and indirect zone, done.
- On three or more burners, light the two outer burners and leave the middle one off for a wide indirect zone, or light just one end for a smaller, hotter direct zone.
- Close the lid and preheat 10 to 15 minutes until the grates are hot enough to sear.
- Use the knobs on the lit side to fine-tune sear intensity, since gas responds almost instantly compared to charcoal.
Recovery is gas’s real advantage: if a zone drops too low mid-cook, bump the knob and you’re back in range within a minute or two, no fuel to add, no vents to fuss with.
Pro Tip: If your grill only has two burners, don’t panic about “real” indirect cooking. One burner off is still a legitimate cool zone, just a smaller one, so keep food toward the unlit end and rotate as needed.

How Do You Actually Cook Using Two Zones?
Which technique you use depends on the cut and how thick it is.
Sear-then-finish (best for steaks under 1.5 inches):
- Sear hard on the direct side, 1 to 2 minutes per side, lid open.
- Move to the indirect side, close the lid, and finish to your target internal temperature.
- Pull 5 to 10°F below your final target. Carryover heat closes the gap.
Reverse sear (best for thick steaks, 1.5 inches or more):
- Start on the indirect side and cook low and slow until the center hits 110 to 115°F, per Grilling Bible.
- Move to the direct side and sear hard, 60 to 90 seconds per side, for crust.
- Rest briefly before slicing.
Low-and-slow finishing works the same way for ribs and roasts, just longer, on the indirect side alone.
If flames flare up:
- Move the food to the indirect side immediately
- Close the lid to cut off oxygen
- Never spray water on a grease flare-up
- Trim excess fat before cooking to cut down on repeat flare-ups
What Temperatures and Times Should You Target?
Direct-side searing runs 450 to 600°F. For chicken or fish, dial it back to 375 to 450°F so the skin doesn’t burn before the inside cooks. The indirect side generally sits between 225 and 350°F, with the low end for slow cooks and the higher end for roasting or finishing, according to BBQ Report.
Rough timing to work from:
- Steak sear: 1 to 2 minutes per side direct, then 5 to 15 minutes indirect depending on thickness
- Whole chicken: mostly indirect, 60 to 90 minutes depending on size
- Ribs: indirect the entire cook, often 2 to 3 hours or more
- Reverse-seared 2-inch ribeye: 30 to 40 minutes indirect to reach 110 to 115°F, then a fast sear
Use an instant-read thermometer for quick checks and a leave-in probe for anything cooking longer than 20 minutes. Pulling 5 to 10°F early accounts for carryover cooking as the meat rests.
Why Is One Side of My Grill Not Cooking Evenly?
Most two-zone problems trace back to a handful of fixable causes.
- Uneven sear: rotate the food or check that the grate sits the same distance from the coals across the direct side.
- Cold spots on the indirect side: re-bank your coals, or check that your lid vent actually sits over the cool zone.
- Coals dying too fast: add fresh charcoal in stages, or use a snake or minion method for cooks running longer than two hours.
- Repeat flare-ups: move food to indirect, close the lid, and trim excess fat before your next cook.
Pro Tip: If your indirect zone keeps running hot, you likely have too much coal bunched too close to the center. Push it further to one side and give the grate more room to breathe.
What Tools Make Two-Zone Grilling Easier?
You don’t need much gear, just the right pieces.
- An instant-read thermometer, described by BBQ Report as the single most useful tool for repeatable results
- A chimney starter for fast, even charcoal lighting
- Long tongs to move food between zones without losing your grip
- A grill brush for grate maintenance between cooks
- A second probe thermometer if you’re running long cooks and want to track two pieces of meat at once
Position your lid vent over the cool side every time, and run one throwaway cook on a new grill to learn where its hot spots actually are.
Which Cuts Benefit Most From Two-Zone Grilling?
Thicker cuts get the biggest payoff from two zones, because they’re the ones most likely to burn outside before finishing inside.
- Steaks: ribeye, striploin, and porterhouse all handle sear-then-finish well
- Reverse sear: anything 1.5 inches or thicker, like a T-bone, benefits most from the low, slow indirect start
- Bone-in chicken thighs, pork chops, ribs, and whole birds: all lean on the indirect side for the bulk of the cook
When you’re at the counter, ask your butcher three things: the recommended thickness for your technique, whether the cut has been rested or dry-aged, and how much trimming is left on. If a marinade or sauce has a lot of sugar, mention that too. High direct heat scorches sugar fast, so a sweeter glaze often does better moved to the indirect side sooner than you’d expect.
Three Two-Zone Recipes to Start With
- Sear+finish strip steak: Sear 90 seconds per side over direct heat, then move to indirect and finish until it reads 5°F below your target, resting brings it the rest of the way.
- Reverse-seared ribeye: Cook indirect until the center hits 110 to 115°F, then sear 60 to 90 seconds per side over direct heat for a hard crust.
- Bone-in chicken thighs: Sear skin-side down over direct heat until golden and crisp, then move to indirect and finish until the internal temperature hits 165°F.
Why Every Home Griller Should Master This First
Two-zone fire is the one skill that pays off on every single cook, more than any rub, marinade, or expensive grill upgrade. Once you can build a reliable hot side and cool side, reverse sear, low-and-slow ribs, and rescuing a flare-up all become routine instead of stressful.
Start with something forgiving, like bone-in chicken thighs, before you try a thick reverse-seared ribeye. The margin for error is bigger, and you’ll learn how your specific grill behaves without wasting a good steak on a mistake.
Where to Learn More About Grilling Technique
- Weber: clear breakdown of direct versus indirect fundamentals
- AmazingRibs: deep detail on temperature control and fuel management
- Grilling Bible: strong reverse-sear specifics with timing benchmarks
- Bon Appétit: practical flare-up safety guidance
Frequently Asked Questions
What’s the difference between two-zone grilling and indirect grilling?
Indirect grilling uses only the cool zone, no direct heat at all, common for whole birds or big roasts. Two-zone grilling gives you both zones on the same grill at once, so you can sear and finish without moving to a different setup.
How long does a charcoal two-zone fire last?
A full chimney load on a standard kettle holds stable zones for about 60 to 90 minutes, per AmazingRibs. Longer cooks need staged fuel additions or a snake method.
Can I do two-zone grilling on a small two-burner gas grill?
Yes. Light one burner and leave the other off. It’s a smaller indirect zone than a three-burner setup, but the mechanics work the same way.
Do I need a thermometer for two-zone grilling?
An instant-read or probe thermometer is close to essential. It’s how you know when to move food between zones and when to pull it, instead of guessing based on time alone.
What cuts should beginners try first with two-zone grilling?
Bone-in chicken thighs are the most forgiving starting point. Thick steaks like ribeye or porterhouse are the best showcase once you’re comfortable managing both zones.
Sources
- How to Cook Anything on Your Grill: Mastering Direct, Indirect, and 2-Zone Grilling | Weber Grills | Weber US
- Amazingribs
- Two-Zone Fire Setup: Grilling Foundation | Grilling Bible
- Two-Zone Grilling Setup & Techniques (2026) – BBQ Report
- A Two-Zone Fire Is the Secret to Not Setting Grilled Food on…Fire | Bon Appétit


