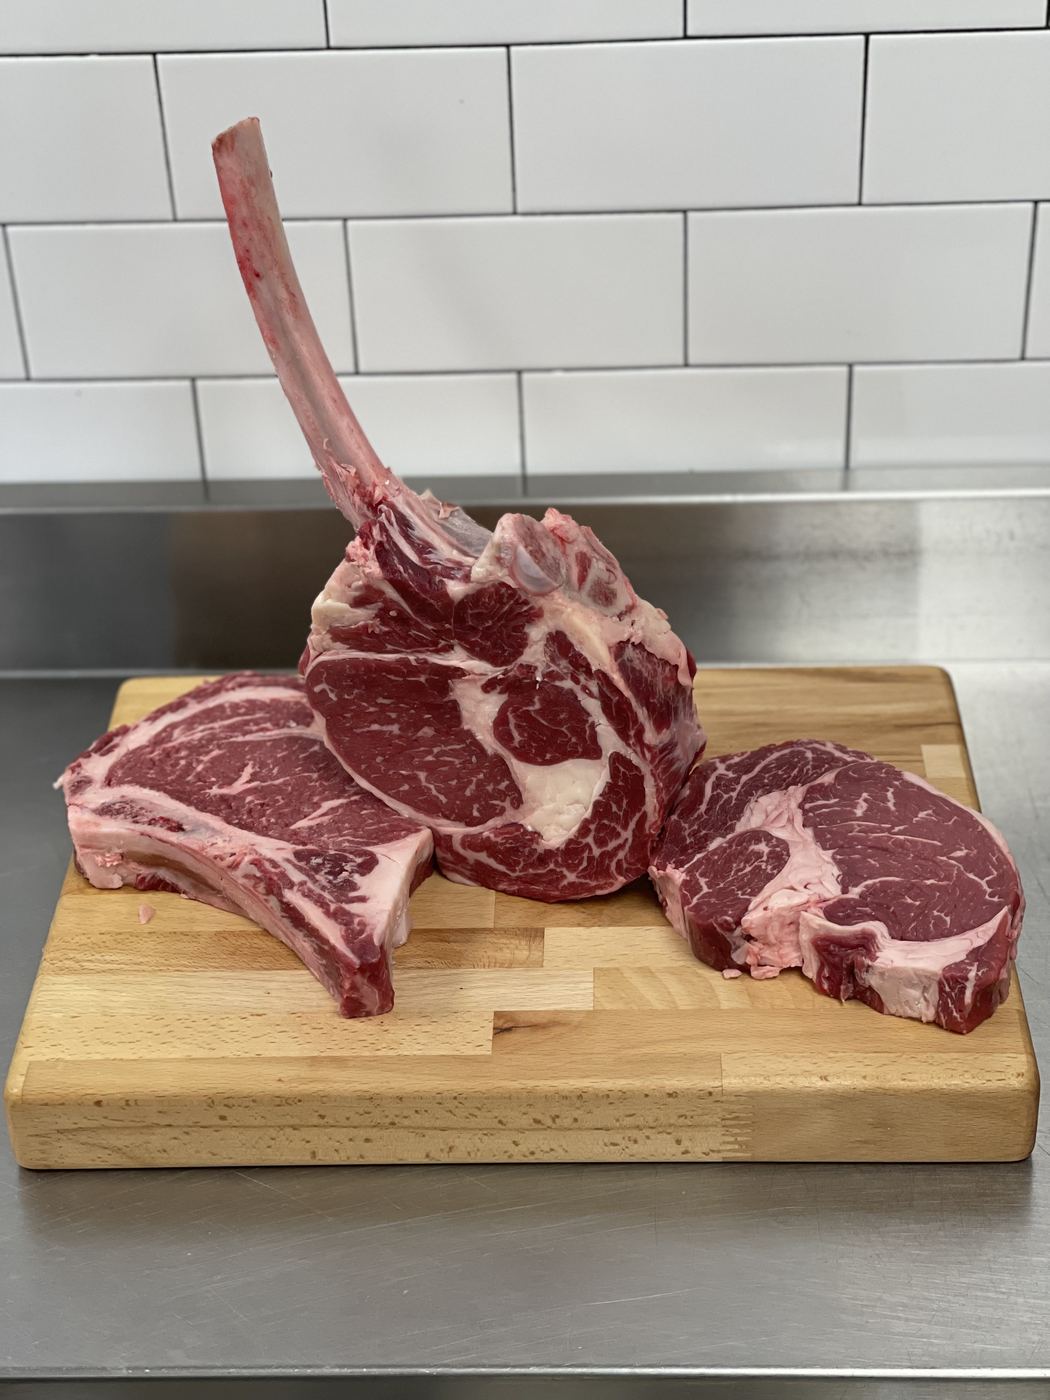

Reverse sear is the quickest way to get edge-to-edge doneness in a steak: cook it low and slow until it sits 10 to 15°F below your final target, then finish with a hot 45 to 90 second sear per side. It works best on cuts at least 1 inch thick, and you can run the entire method in an oven, on a gas grill, or over charcoal.
TL;DR:
- Reverse sear works best on steaks at least 1.5 inches thick, particularly with cuts like ribeye, strip loin, and thick-filets.
- Pull the steak from the low-heat stage when it reaches 10 to 15°F below your target temperature to account for carryover heat during searing.
- Use a reliable thermometer to monitor internal temperature, both during low-stage cooking and the final sear, for best results.
- Proper surface drying and preheating of the pan or grill are essential to achieve a dark crust without overcooking the center.
- For consistent doneness, cook at 225°F to 275°F in the low stage, with longer cook times at lower temperatures for safer, more forgiving results.
Table of Contents
- Why reverse sear works: moisture, Maillard reaction, and thermal budgeting
- When to use reverse sear and which cuts benefit most
- Step-by-step reverse sear method for oven, grill, and skillet
- Temperature and timing reference for pull temps and low-stage cook times
- Equipment essentials: thermometers, pans, and probe placement
- Food-safety notes: safe internal temperatures and mechanically tenderized beef
- Buying and cut-selection tips from a working butcher
- Troubleshooting common reverse sear mistakes
- Get hand-cut steaks ready for reverse searing
- FAQ
- Sources
Why reverse sear works: moisture, Maillard reaction, and thermal budgeting
A steak straight from the fridge has a damp surface, and that moisture has to evaporate before any browning can start. Water absorbs the heat that would otherwise be building a crust, so a wet steak dropped into a hot pan steams first and sears second. Drying the surface, whether with a paper towel or a longer stint uncovered in the refrigerator, removes that delay and lets the Maillard reaction start the moment the meat hits high heat.
The low-and-slow stage solves a separate problem: heat migration. Cook a thick steak directly over high heat and you get a gray band of overcooked meat ringing a pink or red center, because the outer layers absorb far more heat than they need while the core struggles to catch up. Holding the steak at a low oven or grill temperature lets the center rise gradually while the exterior barely overshoots it, so the whole cross-section finishes within a few degrees of the same doneness.
That even internal temperature is what makes the final sear so effective. Because the interior is already close to done, the hot pan or grate only needs a short, aggressive blast to build color and crust. The heat never has time to drive deep into the meat, so you get a dark, flavorful exterior without pushing the center past your target.
When to use reverse sear and which cuts benefit most
Thickness decides whether reverse sear is worth the extra time. A steak under 1 inch cooks through so quickly on direct heat that there is no meaningful gradient to fix, and running it through a low oven stage first just dries it out before it ever reaches the pan. Reverse sear is best suited to steaks 1 inch or thicker, with 1.5 to 2 inches as the range where the method shows its biggest advantage.
Certain cuts reward that extra thickness more than others:
- Ribeye: generous marbling renders slowly during the low stage, basting the meat from the inside.
- Strip loin: a dense, even grain that holds up well to the two-stage cooking process.
- Thick-cut filet: benefits from the gentle heat since it has little fat to protect it from drying out.
- Tomahawk: its extreme thickness makes reverse sear almost mandatory for even doneness.
If you are working with a thin cut or you are short on time, a traditional hot sear from start to finish will get you a good result faster, and the reverse method will not add much value.
Step-by-step reverse sear method for oven, grill, and skillet
1. Salt and dry the steak. Salt generously at least 40 minutes before cooking, or up to 24 hours ahead. Set the steak uncovered on a wire rack in the refrigerator; refrigerating it uncovered for at least 4 hours forms a dry surface, called a pellicle, that sears much faster and darker than damp meat.
2. Set up your low-heat stage. In the oven, preheat to 225 to 275°F and place the steak on a wire rack over a sheet pan so air circulates on all sides. On a gas grill, light one burner and leave the others off, keeping the steak over the unlit side. On charcoal, bank the coals to one side for a two-zone fire and cook the steak on the cool side.
3. Monitor with a thermometer, not the clock. Insert an instant-read or probe thermometer into the thickest part of the steak, away from any bone or fat pocket. Check every 10 minutes once you are past the halfway point of your estimated time.
4. Pull 10 to 15°F below your final target. This is the rule that makes the whole method work: pull the steak when it reads 10 to 15°F under your final doneness, since the sear and carryover cooking will finish the job. For medium-rare, that typically means pulling around 115°F.
5. Rest briefly while you heat your sear surface. A cast iron pan, carbon steel pan, or the hot side of your grill all work. Heat until the surface is just short of smoking.
6. Sear hard and fast. Add a high smoke point oil like avocado or rapeseed to the pan, or oil the steak directly for the grill. Sear 45 to 90 seconds per side, pressing the steak flat against the surface for even contact. Use tongs to stand thicker cuts on their fat cap and edges for 20 to 30 seconds each to render fat and crisp the rim.
7. Rest, then slice. Let the steak sit for 5 minutes before cutting so the juices redistribute, then slice against the grain.
Pro Tip: Keep a second, cheap instant-read thermometer in the kitchen drawer as a backup. A dead battery at the pull-temp moment is the easiest way to ruin an otherwise perfect steak.

Temperature and timing reference for pull temps and low-stage cook times
The chart below maps pull temperature to final doneness, along with the low-stage oven or grill setting and a rough time estimate for a typical steak.
A 1.5-inch steak at roughly 250°F generally needs 30 to 40 minutes in the low stage, with total cook time, including the sear and rest, landing between 45 and 75 minutes depending on thickness. The lower end of the range (225°F) gives you a wider margin for error and minimizes carryover, which Health Canada’s general cooking guidance supports as a safer, more consistent setting than pushing much lower for extended periods. The higher end (250 to 275°F) saves time on a busy weeknight but narrows the window between a perfect pull and an overshoot.
Equipment essentials: thermometers, pans, and probe placement
The low-and-slow stage lives or dies on accurate temperature reading, which makes a reliable thermometer the single most important tool in this whole process.
- Instant-read thermometer: essential for checking doneness quickly during the low stage and for a final verification before you sear.
- Wireless or leave-in probe: lets you monitor the center temperature continuously without opening the oven or grill lid repeatedly, which is useful for longer cooks. A wireless probe thermometer can alert you as the steak approaches its pull temperature so you are not guessing.
- Cast iron or carbon steel pan: both hold and release heat well enough for a true 45 to 90 second sear. Nonstick pans are not recommended for this step since their coatings degrade at the high temperatures a good sear requires.
Always insert the probe into the thickest part of the steak and avoid touching bone or large fat pockets, since both read differently than the surrounding muscle and will throw off your number.
Pro Tip: If you only own one thermometer, use it as an instant-read for spot checks every 10 minutes rather than leaving it in during the sear, since high direct heat can damage probe cables not rated for grill or pan contact.
Food-safety notes: safe internal temperatures and mechanically tenderized beef
Whole-muscle steaks are a food-safety different case than ground meat, but temperature accuracy still matters. Health Canada recommends using a digital thermometer rather than judging doneness by color or touch, since appearance alone is not a reliable indicator of safety.
If your steak is labeled as mechanically tenderized, treat it differently than a traditional whole cut. Mechanically tenderized beef must carry specific labeling because the tenderizing process can push surface bacteria into the interior of the meat, and the guidance calls for cooking it to a minimum internal temperature of 145°F while turning the steak over at least twice during cooking to promote even heat penetration.
General kitchen hygiene still applies throughout the process: keep raw steak refrigerated until you are ready to salt and dry it, use separate cutting boards for raw meat, and avoid letting the steak sit at room temperature for more than a short window before it goes into the oven or onto the grill.
Buying and cut-selection tips from a working butcher

Getting the thickness right starts at the counter, not in your kitchen. When you are buying steak specifically for reverse searing, ask for cuts at least 1.5 to 2 inches thick, and say so explicitly since pre-cut packages at many stores run thinner than that.
A few cuts we recommend most often for this method:
- Boneless ribeye: heavy marbling that bastes the meat during the long low stage.
- Rib steak: the bone-in version of ribeye, with a bit more structure for longer cooks.
- Striploin: a leaner, denser cut that holds its shape well through both stages.
- Top sirloin: a more economical option that still has enough thickness to benefit from the method.
We hand-cut boneless ribeye, rib steak, striploin steak, and top sirloin steak to order, so you can ask for your preferred thickness and trim before it ever gets wrapped.
Troubleshooting common reverse sear mistakes
Most reverse sear problems trace back to one of three things: a damp surface, a late pull, or too much direct flame.
- Pale crust: usually means the surface was still damp or the sear pan was not fully preheated. Dry the steak longer in the fridge next time and wait until the pan is just short of smoking.
- Overcooked center: almost always a late pull. Account for carryover and remove the steak 10 to 15°F below your target, and double check your thermometer’s calibration if this keeps happening.
- Charred edges: usually flare-ups from rendered fat on a grill. Shorten each sear burst to 30 to 45 seconds and move the steak off direct flame briefly if it flares.
Pro Tip: Keep a spray bottle of water near a charcoal grill to knock down flare-ups quickly without having to pull the steak off the grate entirely.
— cloudsprout
Get hand-cut steaks ready for reverse searing

Custom-cut steaks can be requested to specify exact thickness and trim needed for reverse sear cooking, rather than selecting from pre-packaged cuts.
- Browse our boneless ribeye, rib steak, and striploin options.
- Ask us for custom thickness and surface-trim preferences at the counter.
- Planning for a group? Our catering services page covers custom cuts for larger events.
Stop by or check our full product selection to find the right cut for your next reverse sear.
FAQ
Is 225 or 250°F better for reverse sear?
Both work, but 225°F gives you a wider margin for error and minimizes carryover cooking, which makes it the safer default for beginners. 250°F finishes faster and suits anyone comfortable checking temperature more frequently.
How long does it take to cook steak at 225°F for reverse sear?
A steak around 1.5 inches thick typically takes 30 to 40 minutes at the low stage before you pull it for searing, though exact timing depends on starting temperature and your target doneness. Always confirm with a thermometer rather than relying on the clock alone.
What temperature should I use for reverse searing steak?
Set your oven or grill between 225°F and 275°F for the low stage, then pull the steak 10 to 15°F below your final target before searing. For medium-rare, that usually means pulling around 115°F internal.
How long does a 1-inch steak take at 250°F?
A 1-inch steak cooks faster than thicker cuts and may only need about 20 to 25 minutes at 250°F to reach a typical pull temperature. Since 1-inch steaks are closer to the minimum thickness recommended for this method, check temperature early and often to avoid overshooting.
Sources
- Reverse-Seared steak recipe — Serious Eats
- Safe internal cooking temperatures — Health Canada
- Reverse-Sear ribeye on the grill — American Meathead
- How to reverse sear steak: Meat Cut Guide


